
Our service to you isn't changing
When we decided to join Redapt, we joined a company whose values and dedication aligned with ours. Here’s what we mean by that:
Providing
clarity
Giving you professional insight into how emerging technology can help you meet your goals
Strong customer relationships
Being an ally you can rely on no matter how technology or your needs evolve
An embedded and collaborative team
Work with people who will get to know your business for an in-depth perspective of your needs
Solving problems, not just selling solutions
Offering services and technology that address your real world obstacles
Emphasizing outcomes and accountability
Being a partner who takes their responsibility to you seriously and is invested in your success
Enjoy more services and support with the same reliable customer experience
Increased talent and domain knowledge
More expertise for a wider array of solutions that address your specific challenges
Infrastructure and integration
Build a strong foundation for growth with fully integrated, configured, and tested solutions
A team you know and trust
Get reliable guidance at every step through strategy, execution, and delivery
Scaled up operations and capacity
We have the space and bandwidth to tackle the most complicated projects
Expertise across multiple clouds
Our knowledge and experience allow for a wide range of solutions throughout cloud platforms
Global reach for global markets
We’ll soon expand into offices across the country and provide greater support for clients worldwide
Serving our partners better
We’re scaling up to build more creative and effective cloud solutions paired with Redapt’s industry-leading services.

End-to-end consulting
to help you find and leverage the right tech, whether you want to modernize your business, scale up your production, or outpace your competition

Infrastructure and systems integration
that is second to none and trusted by some of the world’s biggest brands

Continued commitment to the cloud
which allows us to create more innovative solutions for our clients
Interested in working alongside Redapt?
Become a Partner
Bring Clarity to the Chaos of Enterprise Technology
Read about it in our eBook: The Redapt Technical Maturity Framework
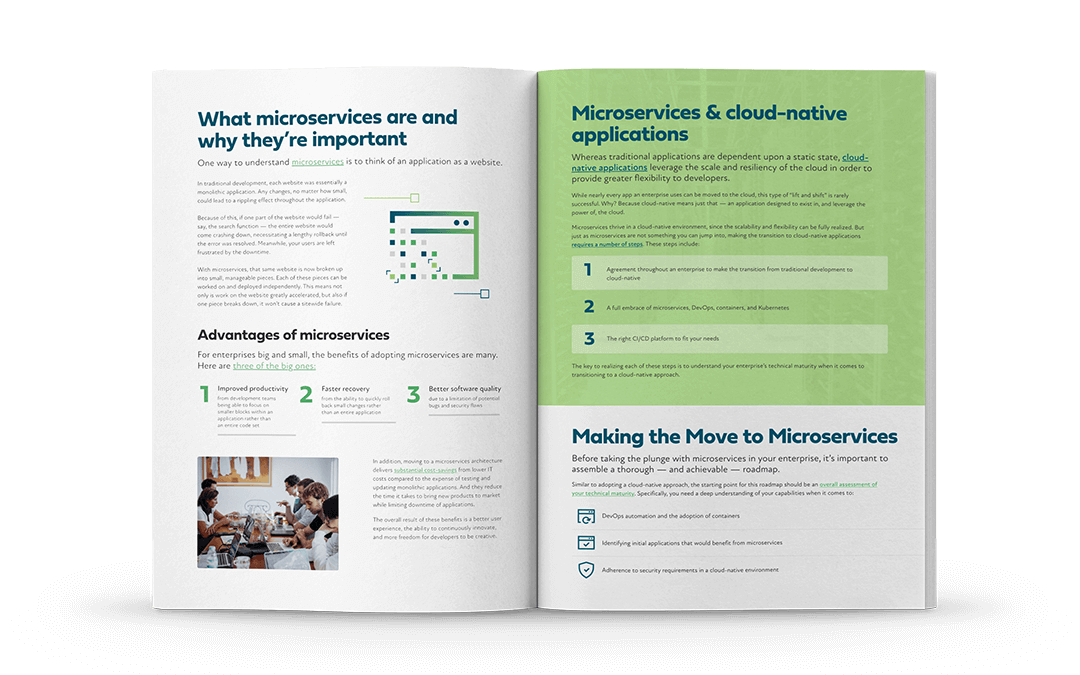
The Complete Guide to Microservices Architecture for Enterprises
Learn all about microservices and how they’ve radically changed development for the better.
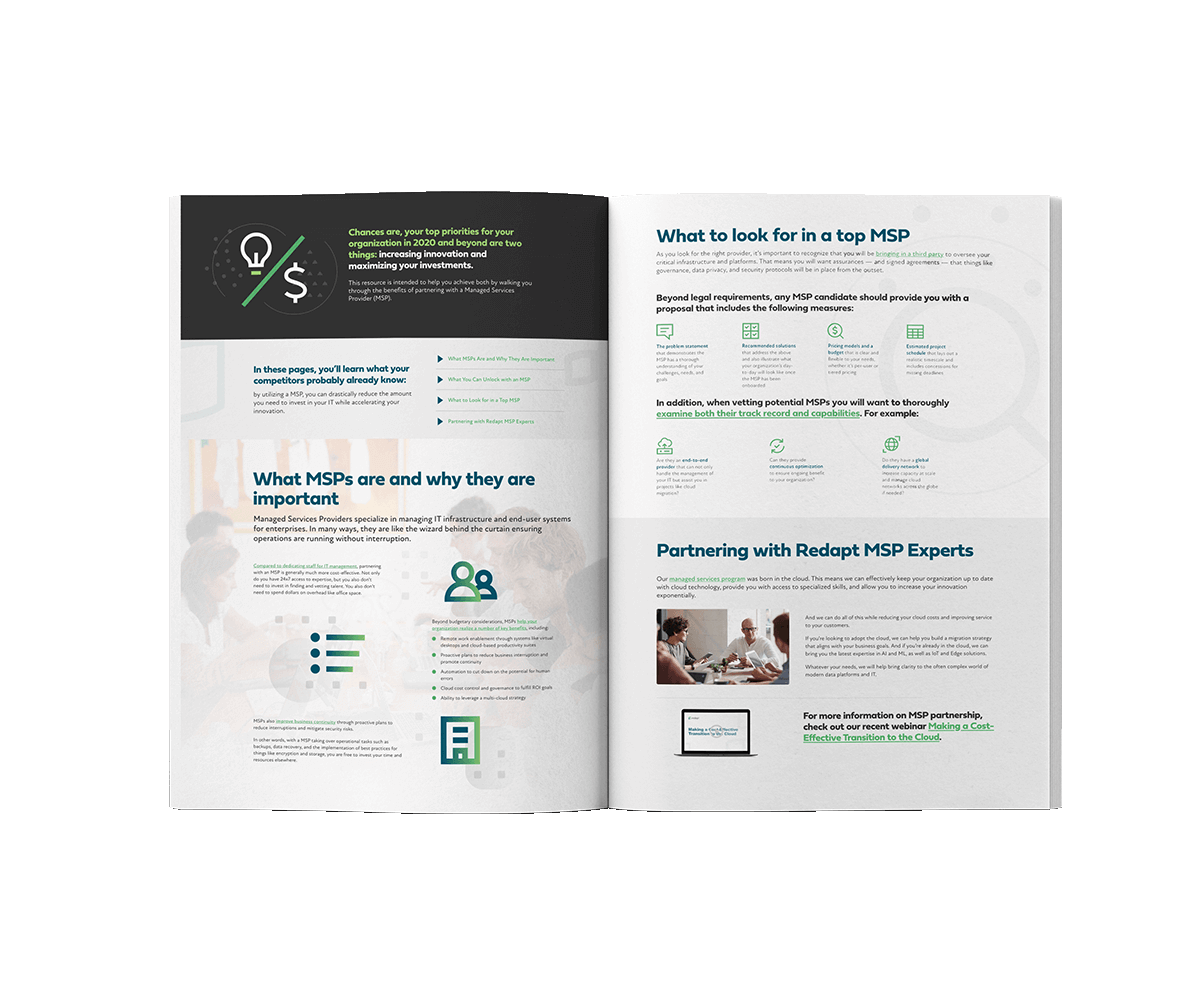
Finding the Right MSP for Your Business
Learn how you can successfully unlock innovation and reduce costs by working with a managed services provider to take care of your IT needs.
The Blog
The latest and greatest Redapt news and thinking
- Data Management and Analytics
- Cloud Adoption
- Enterprise Infrastructure
- AI/ML
- DevOps
- Application Modernization
- Kubernetes
- Featured
- Dell EMC
- Google Cloud Platform (GCP)
- Multi-Cloud Operations
- Workplace Modernization
- Enterprise IT and Infrastructure
- Cloud
- Microsoft Azure
- Security & Governance
- News
- Tech We Like
- Amazon Web Services (AWS)
- IoT and Edge
- Security
- Artificial Intelligence (AI)
- SUSE Rancher
- Azure Security
- redapt
- migration
- CloudHealth
- Intel
- Snowflake
- Social Good
- AMD
- Azure Kubernetes Service (AKS)
- Generative AI
- Hybrid Cloud
- NVIDIA
- TimeXtender
- containers
- optimization
- CoreStack
- Customer Lifecycle
- Data Storage
- Elastic Kubernetes Service
- GPU
- Hardware
- Machine Learning (ML)
- Managed Services
- Storage
- VMware

What is the Role of Artificial Intelligence in Business in 2024?
Artificial Intelligence (AI) is evolving faster than any other technology.

How to Use AI Workflow Automation to Amplify Results
Injecting AI into daily tasks can boost outcomes - but only if thoughtfully added to help your team rather than simply replacing them. 85 percent of leaders want to automate processes to increase...

From Pilot to Production: A 5-Step Preparation Guide Before Putting AI to Work
46 percent of AI projects never make it to production.

Announcing Redapt's Strategic Acquisition of Prime Foray: A New Era of Growth and Opportunities
Redapt is thrilled to announce its acquisition of Prime Foray, symbolizing our ambition and commitment to being a full-service technology solutions partner.
WOODINVILLE & BELLEVUE, WA — April 11, 2024